Creating Artifacts in Your Field Experience Binder
Artifacts are folders meant to hold files and assignments that pertain to certain topics on your FEB. This guide will show you how to create an Artifact in your FEB and add a file into it for later viewing by your Program Faculty
- Open up your FEB. This can be done by going to the Field Experience tab and then clicking on one of the links on the right-hand side of the screen.

- Click on a tab in your field experience binder where you can upload/attach an artifact.

- Click on the gray “Select” button next to the artifact/attachment you are trying to create. This will take you to a new screen.

- Fill in the Title box. The Title of an Artifact will be reflected on your Portfolio. Best practice is to title your Artifact the name of the Assignment.

- Next, you can drag and drop your file into the gray box in the Attached Documents section. You can also click on the green Select File(s) button to add your files to the Artifact manually

- Click the green Add button in the right-hand corner of the screen to add the Artifact to your FEB.

- When all steps are completed, your new Artifact will show up on your Portfolio like so:
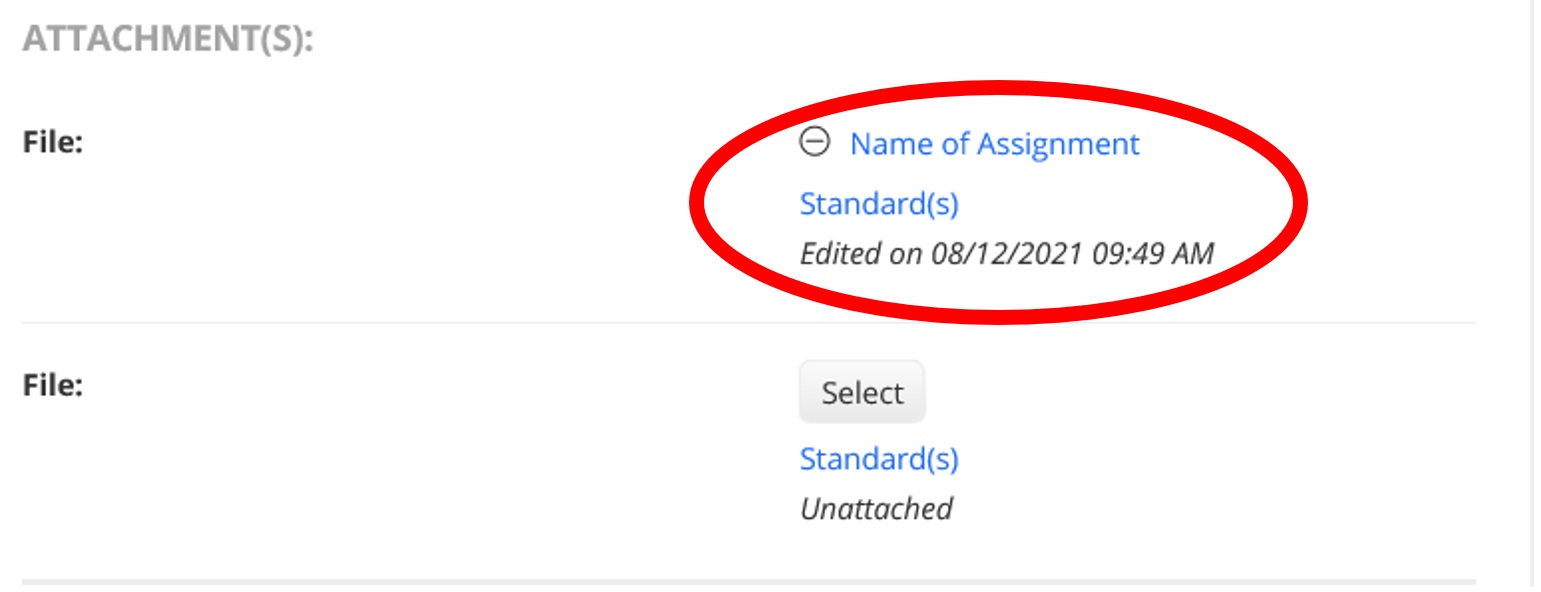
*Note that the Artifact now shares the Title you gave it back in Step 4. Also note that it has a time and date stamp of when it was last edited - When all is said and done, don’t forget to hit the Save button on your Portfolio. It’s in the bottom right-hand corner of the screen.

* PLEASE NOTE – The green Submit button WILL lock you out of your Portfolio and prevent you from editing it. Do NOT click this button unless instructed to by your Program Coordinator or the Tk20 Assistant.