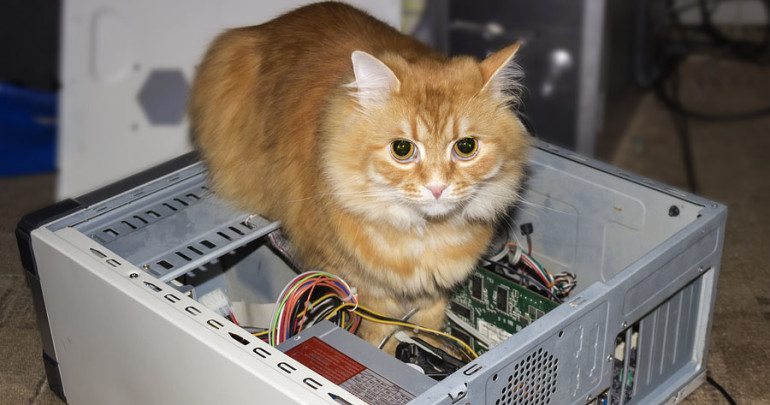
Congratulations! You’ve made a virtual box of your favorite linux distro. But now you want to download a picture of your cat and find out that you’ve run out of disk space. 
Image: habrahabr.ru
Rather than free up space by deleting the other pics of Snuffles, you decide you’d rather just make the virtual machine have more disk space. But you’ll find out quickly that Oracle has not made this super-easy to do. The process is not simple, but it can be if you just use the following steps:
Open the Command Line on your windows machine. (Open Start and type cmd)
You can then navigate to you vitualbox installation folder. It’s default location is C:\Program Files\Oracle\VirtualBox\
Once there, type this command to resize the .vdi file:
VBoxmanage modified LOCATION –resize SIZE
Replace LOCATION with the absolute file path to your .vdi image (just drag the .vdi file from file explorer to you cmd window) and replace SIZE with the new size you want (measured in MB) 1 GB = 1000 MB
Now your .vdi is resized, but the disk space is unallocated in the virtual machine. You’ll need to resize it. To do this, download gparted live. Make a new virtual machine. It is going to simulate a live CD boot where you can modify your virtual partition.
If your filesystem is ext4, like mine was when I did this, you’ll need to delete the linux-swap file located in-between your partition and the unallocated space. Make sure you leave at least 4 GB of unallocated space so that you can add the linux-swap partition back later.
After you’ve resized your partition, you’ll be done. Boot into the virtual machine as normal and you’ll notice you have more space for Snuffles.