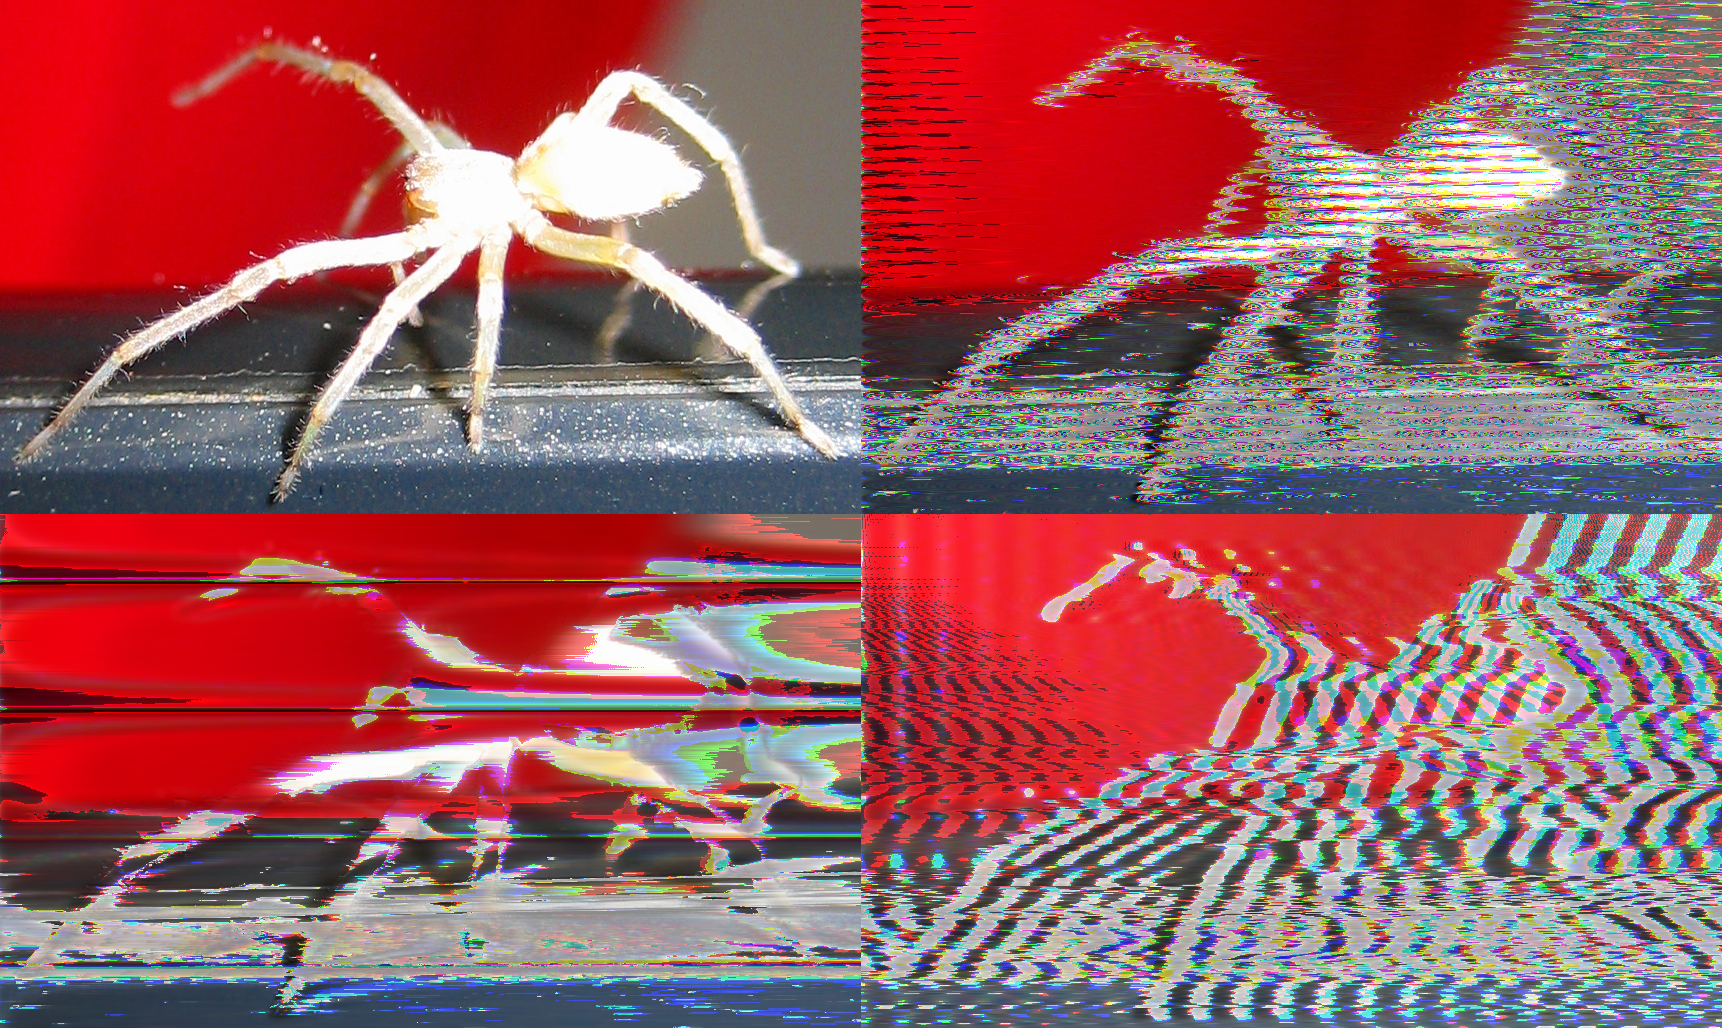
Glitch art is an increasingly popular form of art that uses digital interference or glitches to make interesting art. In this tutorial I will be showing you how to use Audacity to edit photos as if they are sound, which can create some cool effects.
Here’s what you need:
- Adobe Photoshop (I use the CC version so your experience may vary.)
- Audacity (free at Audacity.com)
- A picture
The first step is to open the image in Photoshop. Go to File> Open > Your_file. After opening, we need to save this file as a format that Audacity can understand. We will use the .tiff format. So go to File>Save As Then go to .tiff next to “Save as type”. See the below photo for an example of how this should look:
Then Photoshop will ask you about the settings for the .tiff file. Leave everything as it is except “Pixel Order” change it to Per Channel. Per channel splits up where the color data for the photo is stored, allowing us to edit individual parts of the RGB spectrum. See below photo again:
Once the file is saved as a .tiff file, open up Audacity and click File>Import Raw Data then select your .tiff file. Once this is complete Audacity will ask for some settings to import the raw data. Change “encoding” to “U-Law” and “Byte Order” to “Little-endian” then click import. See photo of how it should look below:
You now have your image in Audacity as a sound file! Here is where the creativity comes in. To glitch up the image, use the effect tab in Audacity and play around with different effects. Most images have a part in the beginning of the file that is needed to open the image so if you get an error trying to open the picture don’t worry; just don’t start the effect so close to the beginning next time. There should also be some noticeable sections in the waveform — these represent the different RGB colors. So if you only select one color, you can make an effect only happen to one color. Once you finish your effects, it’s time to export.
To export go to File>Export. When prompted set the file type to “Other uncompressed files”. See photo of how it should look below:
Then click option at the bottom right. For “header” select “RAW (header-less) and for “encoding” select “U-Law” again. Then hit “OK” and save your file. Now you should be able to open the RAW file and see how your work came out. See photo of how it should look below: