
Taking a short break from the natural-language parser to make a modified Sutton Hoo lyre (based partly on instrucable, possibly from Rutgers). I scoured the net for ideas, but was most impressed with Michael King’s lyre. Virtually every lyre out there is a rectangle, a squared doughnut. Having played a beautiful lyre made by my friend Jul, an incredible metalsmith and artist, I thought it nevertheless slightly awkward to hold. In this version, I reduced the size of the lyre and changed its configuration. Rather than a rectangle, I decided on a sound box attached by two long stanchions to a head-piece. (I was thinking of a double-necked guitar with a bridge between the two heads.)

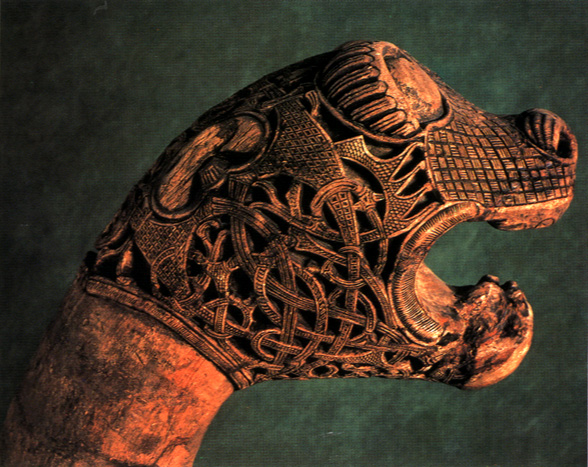
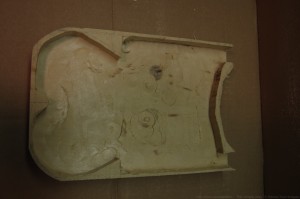
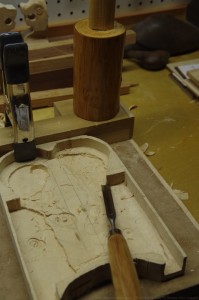
This is the first idea for a layout. Sound box is basswood (hard, but easier to carve than maple, the wood used in Sutton Hoo). The two upright stanchions are white oak. The cross-piece is white oak. And the dragon heads are basswood, inspired by the Oseburg ship. I carved them with a Morakniv, simply the best carving knife I have ever used. The next step was to router out the sound box. I set my router’s depth to leave 1/8th of an inch for the bottom, planning later to carve down to 1/16th. I left two posts to hold the bases of the stanchions.
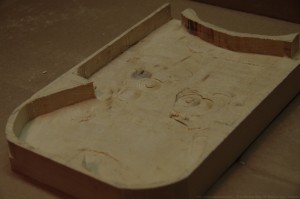
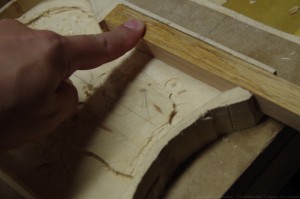
The knob on the inside base is for installing a nut around which the strings will be gathered. Here’s one of the stanchions fit into place:
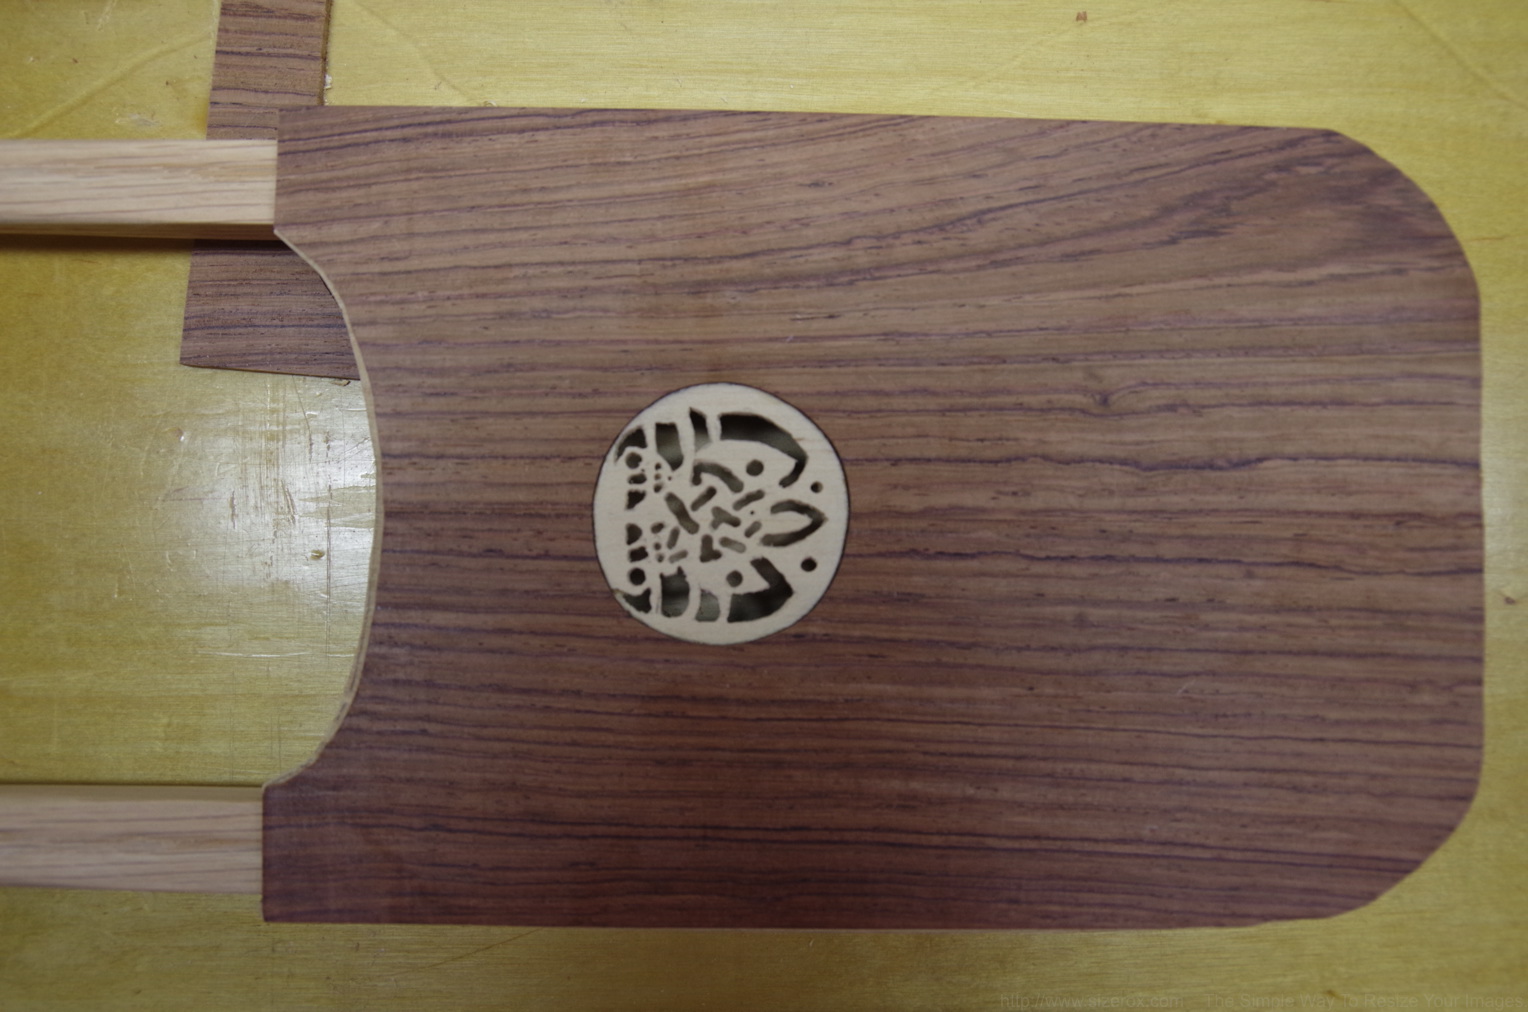
After routing, I used a gouge to bring the bottom to level. Two considerations: first, the pressure on the box is down its central axis. So, rather than put in a truss rod or brace, I left the central axis 1/8th inch thick. Second, the sound has to vibrate along the bottom, so the two sides of the central axis were carved down to 1/16th.
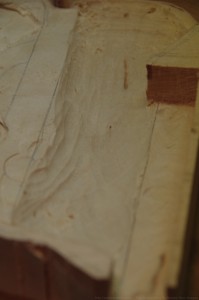
The result left two valleys on either side of the central axis. I splayed out the base of each valley and the result was the shape of a tree. Yggdrasil, probably. Word on the web is that when thinning panels for a sound box, what matters is not thickness so much as density. So the old way to check was to hold the bottom up to a light source and look for the “fire.” A violin maker told me that this stage is called “candellighting.” Here’s the base held up to a light. The fire-red bits are 1/16th thick.

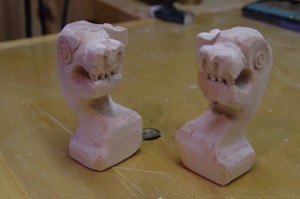
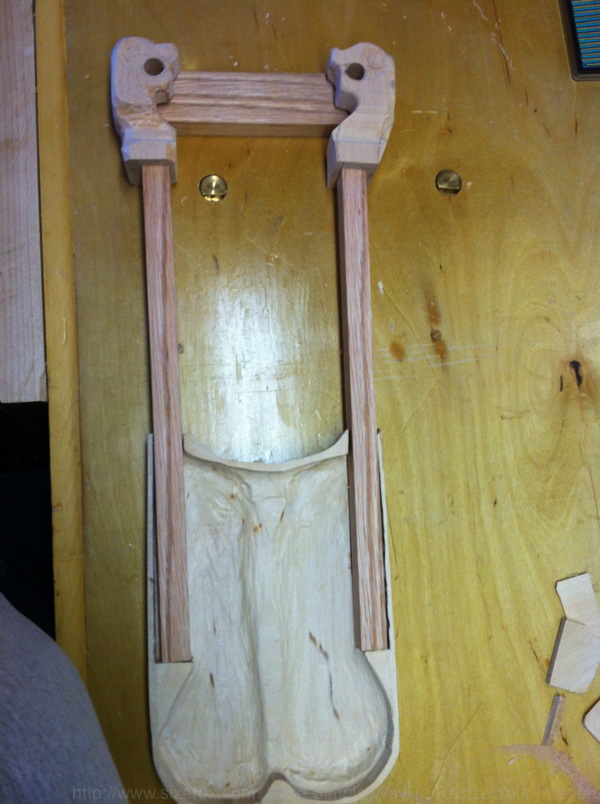
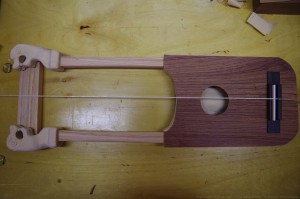
At this point, I decided that the dragon heads would hold the cross-piece rather than mount it. Here they are carved and sanded, then holding the cross-piece:

And here’s the new layout. Note the tree-shaped interior and the rather suggestive curve of the base, which I hope will give great bottom to the sound. Seriously, I wanted the sound to bounce around in there, echoing and re-echoing.
The next stage was the sound hole. It’s an option, but not necessary. I decided on a hole one-third of the width of the lyre, based on a guitar by Juan Cayuela, a brilliant luthier from whose descendant I bought my classical guitar. The top is a piece of rosewood, 4″ wide and 1/8th inch thick. I glued two pieces together to make a single 8″ top. Then, I routered 1/16th from the center of the board. The result was like a dinner plate, leaving a border 1/8th inch and a valley 1/16th. The bridge is a ukelele bridge from Stewart-McDonald. They also have excellent supplies of mother-of-pearl.
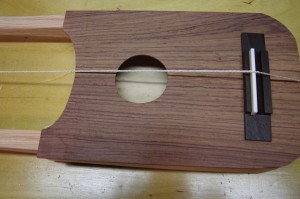
The sound hole looked a little bare, so I took an idea from a renaissance lute and carved an inset. Using a design from the Book of Kells, I started by tracing the sound hole on a piece of basswood. I ripped the basswood down the middle, leaving two 1/16th slabs.

After layout, I carved the figure, then carved down to the circle, leaving a raised disc. It fit in very nicely. I glued the inset nto the back with hide glue:

And here it is from the front:

Still waiting on the tuning machines and the gutstrings. I’ve also got mother-of-peral to set in. The dragon heads will be gilded and have garnet set into their eyes. More to come.