Android is a great platform for a beginner developer to make his or her first smartphone app on. Android apps are written in Java, and the graphics are generally written in XML. Android apps are developed in many well-known IDEs (integrated development environments – programs that typically package together a code editor, compiler, debugger, interpreter, build system, version control system, and deployment system, as well as other tools) such as Eclipse, IntelliJ IDEA, and Android Studio. In this article we will cover the basics of Android Studio.

Android Studio is Google’s official IDE for Android App Development. It is based off of IntelliJ IDEA, an IDE developed by a company called JetBrains. In this tutorial we will assume that you are familiar with the Java programming language and its core principles, such as object orientation, object types, and libraries. If you are new to Java or to programming in general, UMass Amherst offers an introductory course called COMPSCI 121 – Introduction to Problem Solving with Computers, that covers the basics of Java and object-oriented programming.
To start, you must download and install the latest version of Android Studio from this link. The program can be very large if you install certain features, so make sure you have enough space on your machine. The installation will install Android Studio itself, the Android SDK (software development kit – the tools and libraries you need to make an app), and possibly an AVD (Android Virtual Device – emulators for different kinds of Android devices). If you have a physical Android device that you can plug into your development machine via USB, and you have developer options enabled on that device (follow these instructions to enable USB debugging/developer options), you can opt to not create an AVD and test/deploy your app to your physical Android device instead.
Since Android supports multiple form factors (such as smartphone, tablet, smartwatch, smart TV, and smart car), the apps you develop will have to target specific ones, or support all of them.
Once you’ve installed Android Studio and its supporting features successfully, start up the program. This should be the first window you see.
You can start a new Android Studio Project, open one you have already created, check one out from a version control site like GitHub, import a project from a different IDE or build system, or import a sample bit of code. Go ahead and start a new Android project. Make your application name “My First App” and your domain something along the lines of “it.umass.edu”. These fields determine your package structure, which with these entries would be “edu.umass.it.myfirstapp” which is a typical-looking structure. Your project location is where all of your project data is stored. The next window will ask you what form factors you want to support, with many different SDK options for each of them. The API (application program interface – cumulatively released toolkits for releases of Android) levels indicate what versions of Android your app will support. The higher API level you choose, the more features will be available to you, but the less Android devices your app will be able to support, and vice versa. It’s up to you what API level you support, and you may or may not notice some features available or missing. We will choose only Phone and Tablet API 15 which supports devices running Android 4.0.3 and up, which constitute 97.4% of Android devices active on the Google Play Store. The next window you see will be the following.
This is where you select your initial Activity for your app. An activity is a template for a layout your app will have when performing a certain action. Your app can switch between Activities with different actions, and you can modify Activities as much as you want. Go ahead and start off with an Empty Activity. The next window will ask you to name your Activity. This will be the name of the Java class and the XML layout file generated for the Activity. Name your Activity “MyFirstActivity” and the layout name will automatically generate for it. Click on Finish, and Android Studio will generate your module (a subset of your project) and run a couple of processes, such as an initial Gradle build. Gradle is a build tool used by Google.
A build tool is an automated script that you or your IDE runs when you compile your code. It compiles and arranges your project starting from the bottom, core libraries and building up to the top, most complex code that brings all of the dependencies together. If you’ve worked with large Java projects before, you may be familiar with other build tools such as Apache Ant, or Maven. Gradle is the newest of the three and supports the Maven repository (a large central collection of various libraries any Maven project can search for and download – or ‘pull’ – dependencies from as needed). Android Studio automatically generates and runs your Gradle script for you, taking into account new dependencies you may call, but you can modify it if needed.
When the Gradle build is done running, Android Studio will look like this.
This is the Java class for your MyFirstActivity. The “onCreate(Bundle savedInstanceState)” function runs when your MyFirstActivity initially runs and renders. This is where we will be adding some of the functionality to our code. At the top there is a bar that shows you the path of the file you are currently editing. You can see the file structure of your project on the left. The MyFirstActivity.java file is located in your project’s Java folder according to your domain, in the following
AndroidStudioProjects\MyFirstApplication\app\src\main\java\edu\umass\it\myfirstapplication\MyFirstActivity.java
and your XML layout file is located in your project’s resources folder, in the following
AndroidStudioProjects\MyFirstApplication\app\src\main\res\layout\activity_my_first.xml
The XML layout file for your MyFirstActivity is also initially open in another tab open on your code editor as “activity_my_first.xml” and it shows you what your current activity looks like. That window looks like this
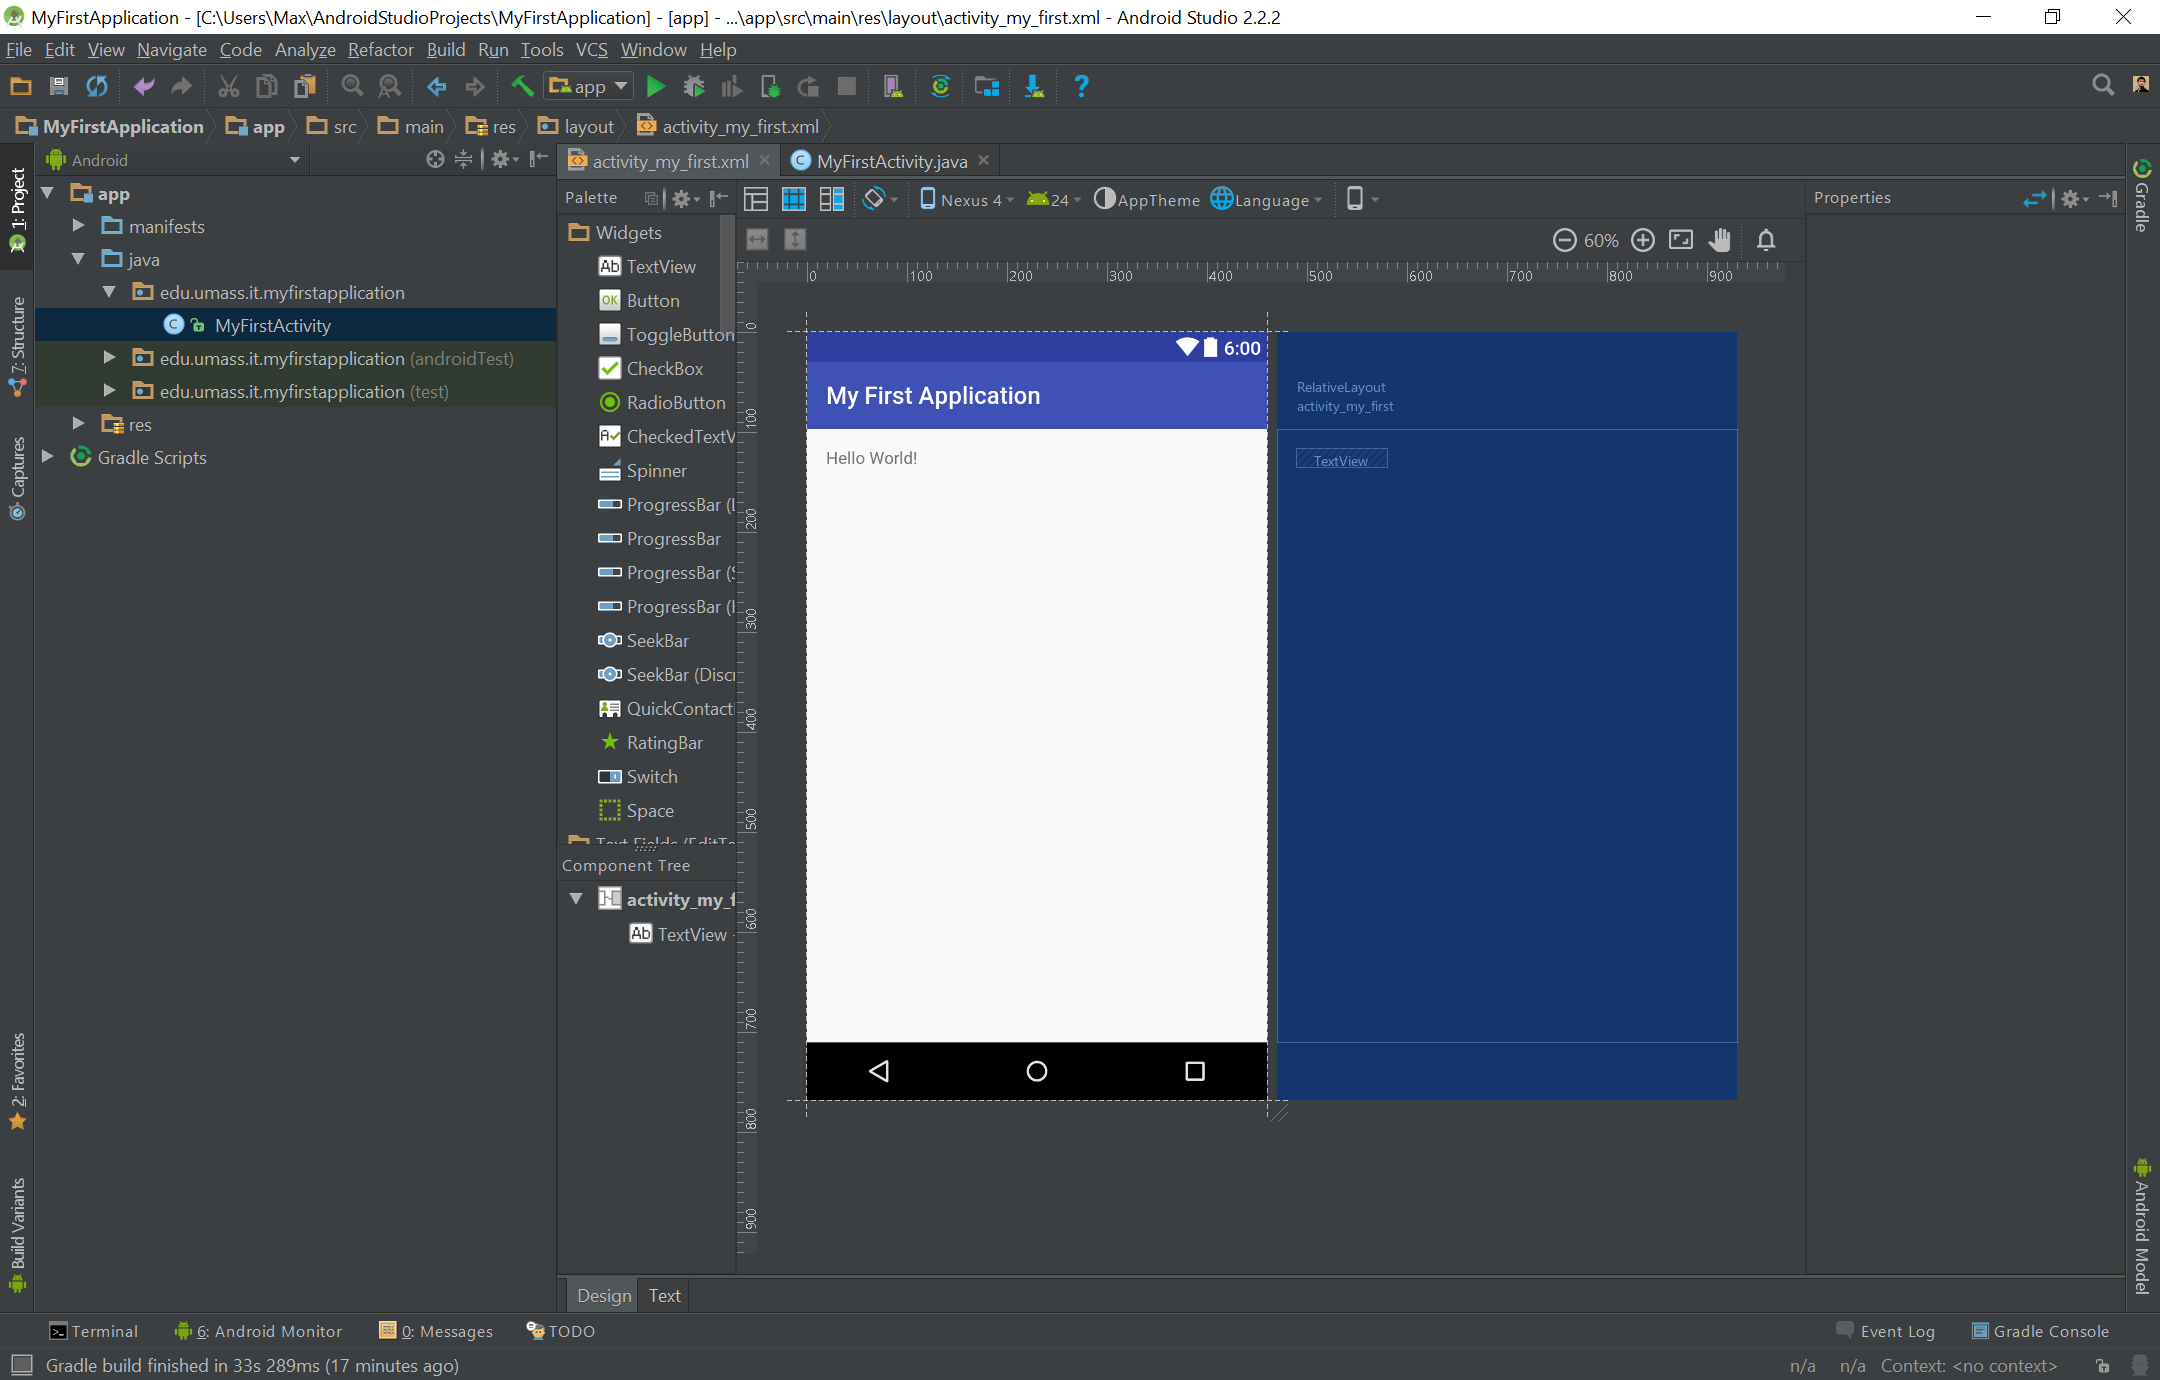
To the left of the render window there is a list of different Widgets, TextFields, Layouts, Containers, Images & Media, Date & Time, Transitions, and other various entities you can drag-and-drop onto your render window. The properties for each entity will appear on the right when they are selected. There is a pair of tabs on the bottom left of the XML layout screen that allows you to work with the XML as it is rendered, or in plain text. At the top of the render window is the Palette, which allows you to change how the window is rendered, such as appearing in landscape or portrait mode, on different device resolutions/pixel densities, or different languages.
To build, deploy, and test your app, click the green “play” button in the top toolbar. A window will pop up asking you to select the target device for you to deploy your code to. If you have a physical Android device for development, plug it in to your computer and select it when it appears in the deployment target window.

If you are going to test your app using an Android Virtual Device (AVD), you will need to create one. Click on Create New Virtual Device. You will need to select the kind of Android device you would like to emulate, and on the next screen you will need to download and select the appropriate System Image. The AVD System Image is a very large file because it contains the entire Android operating system as it would be installed on an actual smartphone. Once you confirm your AVD settings, it will generate, but in order for your computer to be able to emulate – or virtualize – an actual smartphone, you may need to change some settings in your BIOS (basic input/output system, a very low-level machine settings page that can only be accessed when your computer first boots up). These settings that enable or disable virtualization will need to be modified if Android Studio tells you that your machine does not support virtualization. Every manufacturer’s computer’s BIOS settings work differently, but you can follow this guide here to find the virtualization option.
Now we’ve learned the basics of how Android Studio works and how to navigate it. Next time, we will learn how to actually code a basic app.