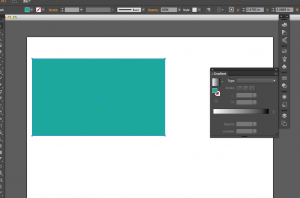
The gradient tool can be accessed from the main menu by going to “Window > Gradient”. Here, I have drawn a square shape which we will apply the gradient effects on.
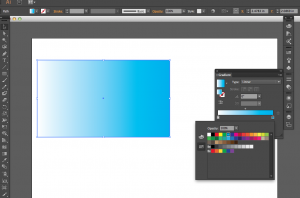
With the object selected, (in this case our rectangle) click on the black to white gradient bar seen in the gradient window. This will apply that effect to the rectangle. Once you have done this, you can select the color nodes located on the gradient bar, and change the color of each one (the default being one black and one white). Here I’ve followed these steps and changed the gradient to a blue/white gradient by altering the color of the black node.
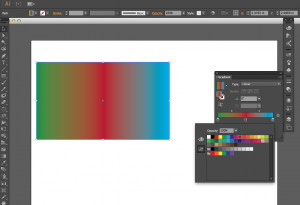
The colors for your gradient are defined by these nodes, and you can add more if you want to create more of a pattern or have multiple colors. In this example I have added a new node in the middle and set it to red, and changed the white node to green.
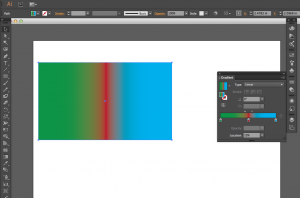
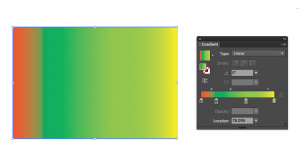
So far, the effect of the gradient has been even spread between each node, however the small gray diamonds located above the gradient bar can be moved to increase or decrease the effect of the gradient between each node. In this example, I moved them close to the red node on each side to make the red color thinner in the middle of the other two colors.
In addition to the gray diamonds, you can also slide the color nodes themselves, which gives you more freedom to experiment and make designs such as this.
The “Location” setting can be used for the same effect as clicking and dragging each node around on the bar, however if you want to have precise distances between other nodes you can enter numbers here.
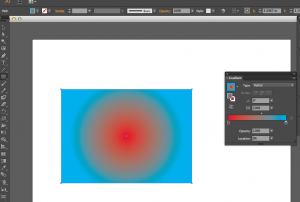
Under “type” the gradient can also be changed to radial which looks like this.
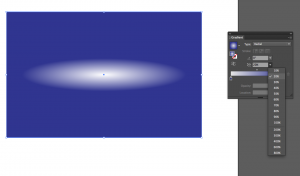
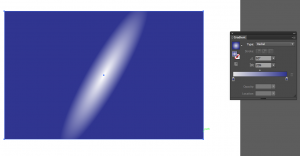
This type of gradient has an aspect ratio setting which can be adjusted with the drop down menu.
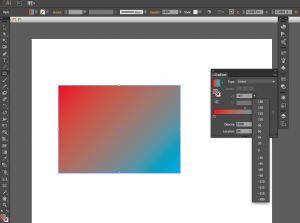
You can also change the angle to move the effect around like this.
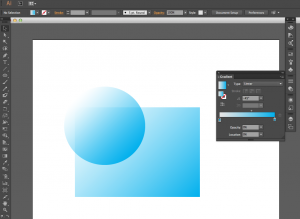
Each node also has an opacity setting. If you would like to have a gradient fade out over other objects, set the opacity to zero. Here are two shapes with their second nodes set to opacity zero, with a white background.
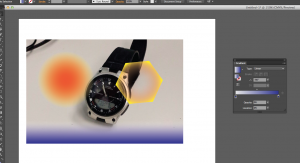
In this example, a few shapes with gradients which fade out are placed over a photo.
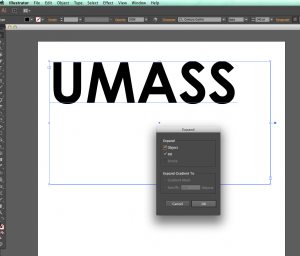
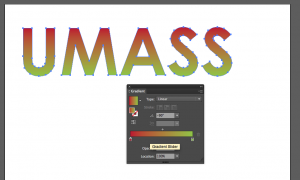
Gradients can also be applied to text, although you will need to convert your text to an object first. This can be done by selecting the bounding box of your text with the direct select tool and then going to “Object > Expand”.
Then, you can select the text and apply gradients to it as you would any other shape.
